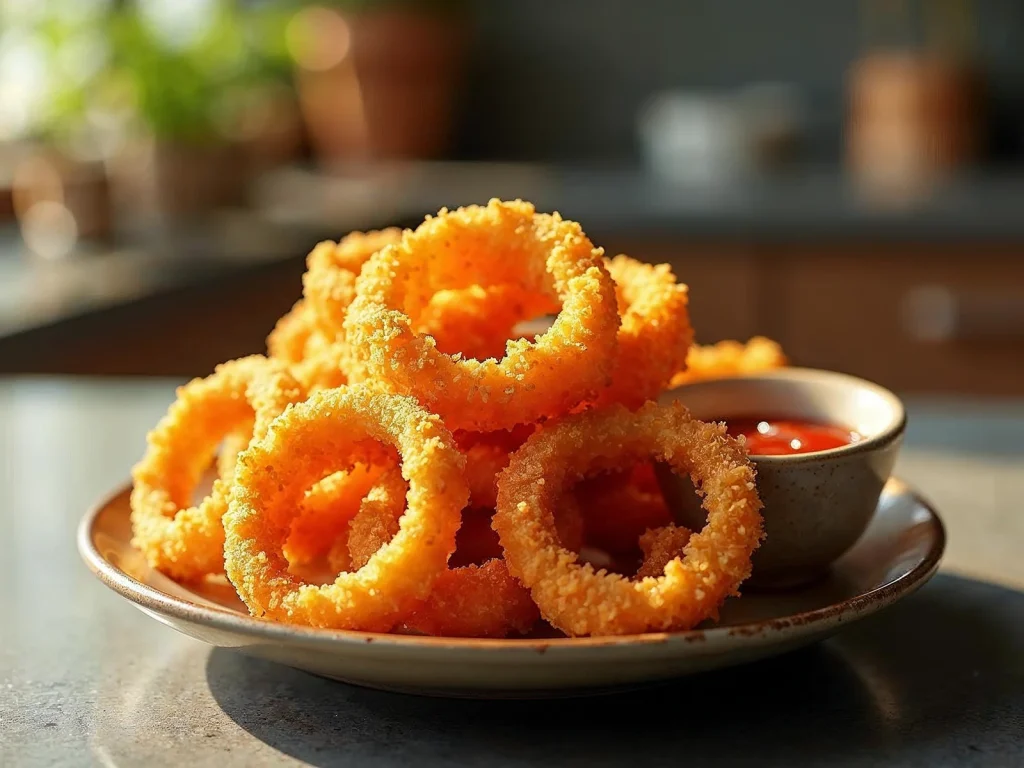
Looking for a satisfying, crunchy snack without deep frying? These Air Fryer Onion Rings deliver all the crispy, golden-brown goodness you crave—without the grease. Thick slices of sweet onion are dipped in a flavorful batter, coated in panko breadcrumbs, and air-fried to perfection. The result? A perfectly crunchy exterior with a soft, sweet interior that makes these rings downright addictive. 🤤
Whether you’re making them as a snack, a party appetizer, or a game-day side, these onion rings are quick, easy, and way healthier than the fast-food version. 🙌
Why You’ll Love These Air Fryer Onion Rings 💡
✅ Crispy Without Deep Frying – Thanks to Panko + air fryer magic
✅ Quick to Make – Ready in under 35 minutes
✅ Flavor-Packed Coating – Buttermilk, garlic, and spice goodness
✅ Mess-Free Cooking – No oily splatter to clean up
✅ Perfect for Dipping – Pairs beautifully with ranch, spicy mayo, or ketchup
Ingredients You’ll Need 🛒
- ¾ cup all-purpose flour, divided – Half for dredging, half for the batter
- 2 tablespoons cornstarch – Helps create an airy crunch
- 2 large eggs – For richness and binding 🥚
- ½ cup buttermilk – Adds tang and tenderness 🥛
- 1½ teaspoons garlic powder – Boosts the savory flavor
- 1 teaspoon salt + ½ teaspoon black pepper – Classic seasoning
- 1½ cups Panko breadcrumbs – Light and ultra-crispy coating 🥣
- 1 large sweet yellow onion – Thick-sliced into rings 🧅
- Oil spray (canola, coconut, or olive) – Helps get that golden crisp
How to Make Crispy Onion Rings in the Air Fryer 🧑🍳
Step 1: Set Up Breading Stations
Use three wide bowls:
1️⃣ Flour + cornstarch
2️⃣ Eggs + buttermilk + spices + remaining flour (whisk until smooth)
3️⃣ Panko breadcrumbs
Step 2: Slice the Onion
Cut the onion into ½-inch thick rounds. Gently separate into individual rings, trying not to break them.
Step 3: Preheat the Air Fryer
Set it to 380°F (193°C) and let it run for 5 minutes while you bread the rings.
Step 4: Bread the Onion Rings
Work in batches:
– Dredge each ring in the flour/cornstarch mix
– Dip in the buttermilk-egg mixture
– Coat fully with Panko, pressing gently to adhere
Step 5: Arrange in the Basket
Place rings in a single layer in the air fryer basket—don’t overcrowd. You can nest small rings inside larger ones as long as they don’t touch.
Step 6: Spray & Cook
Lightly mist the tops with oil spray and air fry at 380°F for 10–12 minutes, until golden and crisp. No flipping required!
Step 7: Serve Hot!
Enjoy straight from the basket or keep batches warm by briefly reheating them all together before serving.

Pro Tips for the Best Onion Rings 🧠
- Use Sweet Onions – Like Vidalia or Walla Walla for mellow flavor
- Don’t Skip the Preheat – Hot air = immediate crisp
- Use Tongs – For cleaner dipping and breading
- Let Extra Batter Drip – Too much liquid = soggy coating
- No Buttermilk? – Mix ½ cup milk with 1½ tsp lemon juice or vinegar and let sit 5 mins
Serving Ideas & Dips 🍽️
- Classic: With ketchup or ranch
- Spicy: Try chipotle mayo or sriracha aioli 🔥
- Cheesy: Sprinkle with Parmesan before serving 🧀
- Tex-Mex: Add taco seasoning to the batter and serve with guacamole 🥑
Storage & Reheating 🧊
- Fridge: Store leftovers in an airtight container for up to 2 days
- Reheat: Air fry at 350°F for 2–3 minutes until crispy again
- Freeze: Best to freeze unbaked breaded rings; cook from frozen for 14–15 minutes
FAQs About Air Fryer Onion Rings ❓
Q: Can I make these gluten-free?
A: Yes! Use gluten-free flour and gluten-free Panko for a celiac-friendly version.
Q: Can I bake them instead?
A: You can, but they won’t be quite as crisp. Bake at 425°F and flip halfway through.
Q: Can I use red or white onions?
A: Sure! Red onions are sharper; white onions are milder. Sweet yellow onions are best for balance.
Q: What’s the best dipping sauce?
A: Ranch, honey mustard, spicy mayo, or even BBQ sauce—anything goes!
Final Thoughts 🧅✨
Air Fryer Onion Rings prove that crispy comfort food doesn’t have to be greasy or complicated. These golden, crunchy bites are made with real ingredients, no deep fryer needed, and come out deliciously light with all the indulgent flavor you love. Whether you’re feeding a hungry crowd on game day or just treating yourself to a savory snack, these onion rings are a total win. 🙌
Their irresistible texture and bold flavor make them more than just a side—they’re a star snack in their own right. You’ll love how easily they come together and how versatile they are with dips, toppings, and even seasonings. From casual weeknights to party trays, they fit right in and always disappear fast.
Make a batch today and taste just how fun air frying can be—no mess, no fuss, just crispy perfection with every bite. 🧄🍽️🔥
Short version

Air Fryer Onion Rings
Ingredients
- ¾ cup all-purpose flour divided
- 2 tablespoons cornstarch
- 2 large eggs
- ½ cup buttermilk
- 1 ½ teaspoons garlic powder
- 1 teaspoon salt
- ½ teaspoon black pepper
- 1 ½ cups Panko bread crumbs
- 1 large sweet yellow onion
- oil spray coconut oil canola oil or olive oil
Instructions
- Start by setting up a simple breading station using three shallow bowls or pie plates, which will make the process much smoother and more organized. In the first bowl, whisk together half a cup of all-purpose flour with cornstarch. This dry blend forms the base layer, helping the batter stick to the onion rings while also contributing to a lighter, crispier texture.
- In the second bowl, crack the eggs and add the buttermilk, then season the mixture with garlic powder, salt, and black pepper. Whisk everything thoroughly until the spices are evenly distributed. Next, add the remaining quarter cup of flour to the egg mixture and continue whisking until you get a smooth, slightly thick batter. This step ensures a flavorful and cohesive coating that clings well to each ring.
- In the third bowl, add a generous amount of Panko breadcrumbs. These airy, flaky crumbs create that irresistible crunchy finish and are perfect for air frying because they brown beautifully without becoming greasy.
- Take your onion and slice it into half-inch thick rounds. Then gently push out the center of each round to create individual onion rings. Be careful during this step to avoid breaking them, especially the larger outer rings. Once all the rings are separated, you’re ready to move on.
- Before you start coating the onion rings, preheat your air fryer to 380 degrees Fahrenheit. Let it run for 5 minutes to ensure it reaches the proper temperature. This short preheating step is key to achieving a perfectly crisp and golden exterior.
- As the air fryer preheats, begin breading the onion rings a few at a time to keep the process manageable and prevent clumping. First, dredge each ring in the flour and cornstarch mixture, making sure it’s evenly coated, then gently shake off any excess flour to avoid a thick, gummy layer. Next, dip the ring into the egg and buttermilk mixture, turning it to coat all sides thoroughly. Let the extra batter drip off so the final coating adheres properly. Finally, press the onion ring into the Panko breadcrumbs, covering it completely to ensure a crisp, golden crust after cooking.
- Arrange the coated onion rings in a single layer inside the air fryer basket, making sure they aren’t stacked or overcrowded. If some rings are smaller, you can tuck them inside larger ones to save space, just be sure there’s enough airflow between them. Lightly spray the tops of the rings with oil spray to promote even browning and a crunchier texture.
- Cook the onion rings in the air fryer at 380 degrees Fahrenheit for 10 to 12 minutes, or until they’re golden brown and crisp. There’s no need to flip them during cooking, which keeps things quick and easy. Because most air fryers can’t hold all the rings at once, you’ll need to work in batches to avoid overcrowding.
- Once a batch is done, you can serve the onion rings hot and fresh straight out of the air fryer. However, if you’d rather serve them all at once, place the cooked rings aside on a tray, and when the final batch is ready, return all of the rings to the air fryer. Heat them together for about 2 minutes to warm them through. This time, it’s fine to stack them, as you’re just reheating, not crisping.